Creating Your First Buylist
A buylist is your store’s public list of cards you’re willing to buy from customers, complete with prices and quantity limits. Customers visit your buylist page, add cards they want to sell, get a live quote, and submit an order. Cards arrive by mail, you grade them, and pay out — cash or store credit.
Getting your buylist live takes about 10 minutes. Here’s how.
Before You Start
You need at least one card game enabled on your store. Sideboard supports MTG, Riftbound, One Piece, Star Wars: Unlimited, Yu-Gi-Oh!, Pokémon, Gundam, and Disney Lorcana. Each buylist covers one game.
Step 1: Create the Buylist
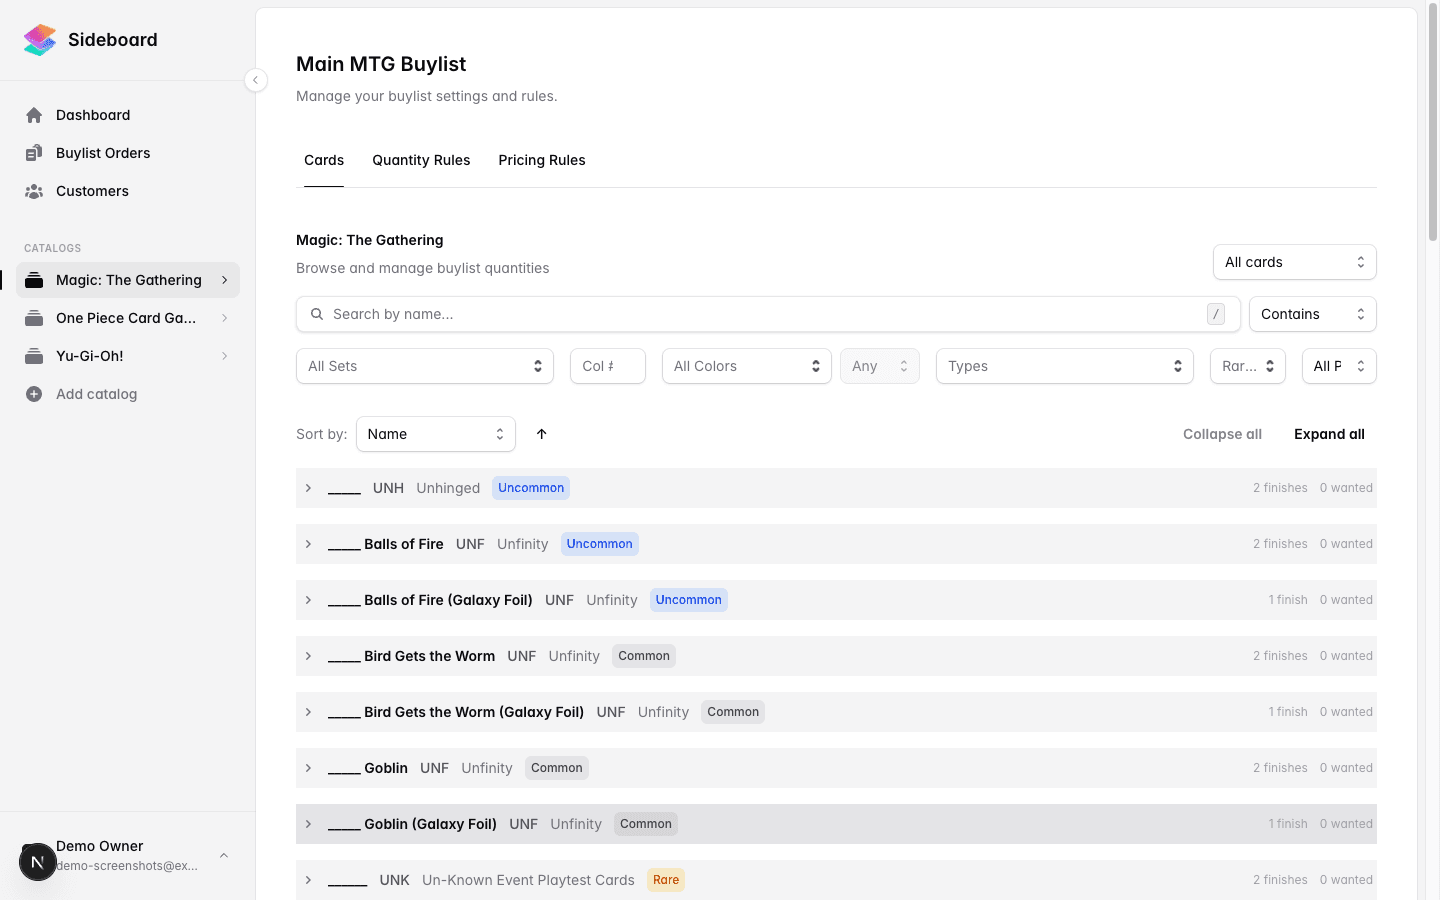
Go to Buylists in the sidebar and click New Buylist.
Choose your card game. You’ll get one buylist per game per store — Sideboard manages the card catalog and pricing data for that game automatically.
Give your buylist a name (customers don’t see this name; it’s just for your team’s reference — “MTG Buylist Spring 2026” works fine).
Step 2: Configure Default Condition
The default condition is the card condition your buylist is anchored to. It tells customers what condition to ship, and it’s the baseline that Sideboard uses when calculating buy prices.
| Condition | When to use |
|---|---|
| Near Mint | Competitive stores with strict graders |
| Lightly Played | Most stores — the industry standard |
| Moderately Played | High-volume, bulk-friendly stores |
Recommendation: Start with Lightly Played. Customers self-assess, and your graders will adjust during intake if cards come in worse condition than claimed.
The condition adjustments — how much you pay relative to NM for each grade — are set automatically and can be tuned later:
| Condition | Default adjustment |
|---|---|
| Near Mint | 100% of base price |
| Lightly Played | 90% of base price |
| Moderately Played | 75% of base price |
| Heavily Played | 60% of base price |
| Damaged | 40% of base price |
Step 3: Set Up the Store Credit Bonus
When customers choose store credit instead of cash, Sideboard automatically inflates the payout. The default is 30% bonus — a customer whose cards are worth $10 cash gets $13 in store credit.
You can adjust this in the buylist settings. A 20–40% bonus is standard for the industry.
Step 4: Add Your Public Store Details
Under Buylist Settings, fill in:
- Store name — The name customers see on the public buylist page (use your public-facing brand name, not an internal label)
- Shipping address — Where customers mail their cards after the store approves their order
These appear directly on your public buylist page, so keep them accurate.
Step 5: Publish the Buylist
Toggle Public to enable the customer-facing page.
Once enabled, your buylist is live at:
app.sideboard.gg/b/[your-store-slug]/[game]You can share this URL on your website, social media, and in-store signage. Customers don’t need an account to browse or submit — they just need their name and email.
Step 6: Set Up Pricing and Quantity Rules
A published buylist with no rules will show $0.00 for every card. Before you start taking orders, set up:
- Pricing rules — what percentage of market (or your list price) you’ll pay. See Buy Pricing Rules.
- Quantity rules — how many copies of each card you’ll accept. See Quantity Rules.
You can also manually override the price or quantity on any individual card.
Archiving a Buylist
If you want to pause buying without losing your rules and history, use Archive instead of delete. Archived buylists disappear from the public URL immediately but all orders, rules, and settings are preserved. You can unarchive at any time.
Key Settings at a Glance
| Setting | What it controls |
|---|---|
| Card game | Which game’s catalog this buylist covers |
| Default condition | The condition baseline for pricing and customer shipping |
| Condition adjustments | Pay rate by condition (NM/LP/MP/HP/DMG) |
| Store credit bonus | Extra % when customers take store credit |
| Store name | Displayed on public buylist page |
| Shipping address | Where customers mail cards |
| Public | Whether the buylist is accessible via URL |
What’s Next
- Buy Pricing Rules — Set what percentage of market price you’ll pay
- Quantity Rules — Cap how many copies of each card you’ll accept
- The Order Flow — What happens after a customer submits
- ../customers/store-credit — Managing store credit payouts
Was this page helpful?
Spotted something wrong, or want to suggest an improvement? Email support → — your message goes straight to engineering.